Thursday, March 6, 2014
Life Dremel tool and my left ear
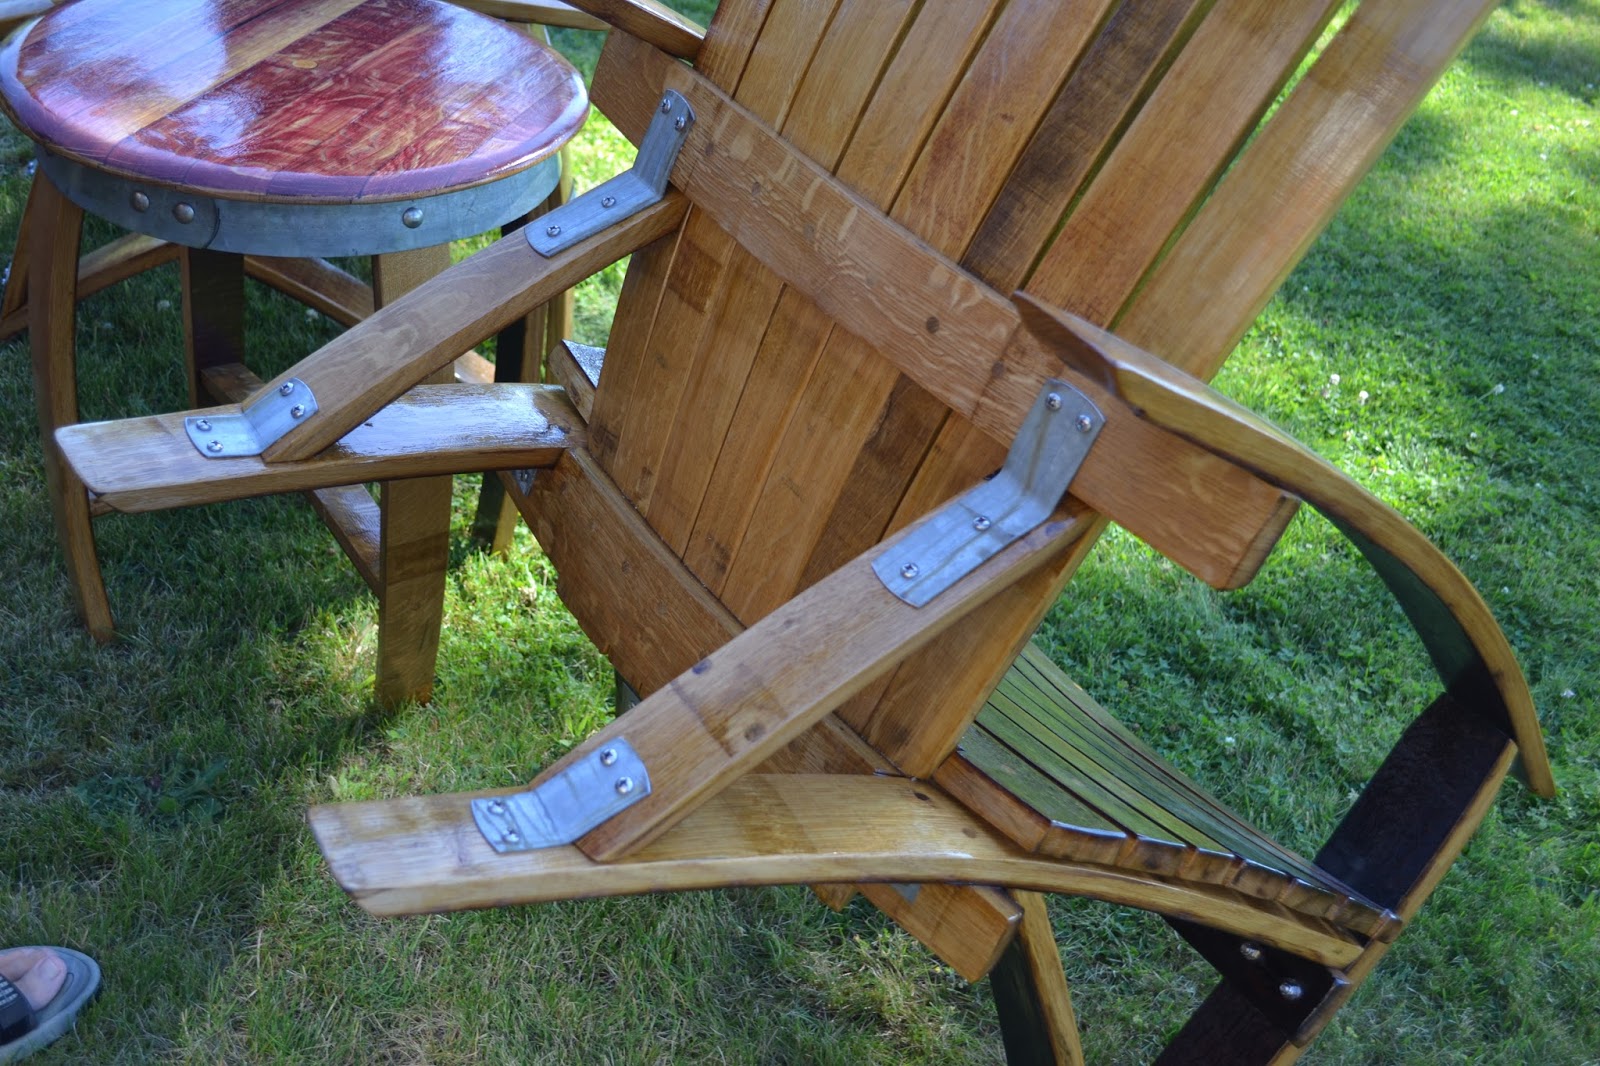
On Sunday, I decided to get out a couple of chisels (I dont have any proper carving chisels) then my Dremel tool and start carving. Do you have a Dremel? Ive never used it for much beyond cutting off screw heads and such, but carving with it was a lot of fun. I think Ill have to explore this more in the future.
Today I tacked on an introduction to this video, after having almost a week to think about it. I really wasnt sure if I wanted to post it or not, because it is not a how-to video. In fact, its probably nothing that will be of any use to you whatsoever.
 Any regular reader of my blog knows that we have talked about life, woodworking and art before. Art is a subject that has always fascinated me. How do we define it? Woodworking begins with a destructive act: the killing of a tree. I believe woodworking can be an act of renewal by giving the wood newfound life in a different form. In many cases, the project — if executed properly, and to our full potential — will outlive us.
But where does art fit into this? Is the artistry inherent in the creator of a given project? Can one be an artist without creating? How long does the "art" need to last to be considered art? Christo has built a career on creating art that is meant to be temporary. Perhaps his art really lies in the photographic record of his work.

Ill let you watch my video and draw your own conclusions.
Most importantly, I am helping out Marc Spagnuolo (The Wood Whisperer) in spreading the word about Woodworkers Fighting Cancer, his campaign to help in the fight against cancer. Ill be mentioning this more in the months ahead and encouraging you to get involved. You dont have to donate anything to get started, okay?
Wednesday, March 5, 2014
Bandsaw Box tutorial
So I was delighted when Bruce (aka: Wood Chuck) up in Canada sent me this great tutorial on how to make them. He takes you step by step through the whole process in a clear, straightforward manner.
Check out his work:

Alan Peters Lest we forget

To bring this around to the ultimate objective of the focus on a specific designer, it is this age that we are living in right now, and the subsequent five to ten decades that I’d like you to consider as woodworkers. Woodworking is about shaping this curious material (wood) in unique and interesting ways with sharp objects (most often metal blades). While a simplification that is the core of what we explore when we consider ourselves woodworkers, not long ago the subject of machine vs. hand transformed the art. If you’ve studied the Craftsman era or Arts and Crafts period in your history class, you should know that this issue was at the heart of the ideals. In the age of machine production, and in the age of machine information, the way which we shape wood is as diverse as the number of ways that we find out about how to shape it. We have begun to reach a new era in woodworking. The information that comes to us is no longer passed from parent to child or from master to apprentice, but from many directions and influences. What was once the “one true way” has given to a blur of methods and approaches that in my opinion have become as daunting as and figuratively louder than the noise that any power tool can make.
In October 2009, one of the last furniture designers in England that could trace his apprenticeship and subsequent mastery to the Arts and Crafts movement passed away at the age of 76. Here in the United States, there wasn’t much notice, even among master craftsmen. He was awarded the Order of the British Empire in 1990 for his contributions to English furniture building techniques and designs, and is considered one of the founding fathers of the British Craft Revival of the 1970’s. A quote from the London Sunday times at the time of his passing speaks deeply to his philosophy: “The simple forms in Japanese vernacular architecture and furniture reinforced his background in the Arts and Crafts movement and nudged him more firmly towards an exploration of the beauty of the material. He began to enjoy and explore the unpredictable and beautiful figure of wood as an important part of the design but continued to make more humble pieces appropriate to production in numbers. One of his simplest pieces, a comfortable chapel chair, was made from pit-prop-grade ash for economy. It was never his motive to make objects of art, simply to produce beautiful pieces of furniture, on which he was happy to stamp his name.”

As furniture designers have come and gone over the last 50 years or so, Peters’ work stands out in that it speaks to the tradtion of Arts and Crafts visual honesty in construction methodology, but also gives a nod to the modern esthetic. Like his, turn of the century, influences in the Craftsman movement, he paid particular attention to the esthetic quality of Japanese joinery, line and form. That attention influenced his later work and to my eye gives both a cleaner and uncluttered line and a visual beauty. Over the course of his career, he traveled to Japan on many occasions to work with traditional Japanese carpenters, study furniture, temples and joinery techniques. The Arts and Crafts, like the Art Deco movement that followed it, combined many different styles and there is often some “Oriental” (as it was often mentioned at the turn of the century) detail or nuance that was added to a more traditional European piece to give it greater character or clarity. In the example above, AlanPeter’s design for a music stool from the late 1970’s, the seat of the stool itself functions to place the musician slightly forward in balance allowing for clearance of a woodwind instrument but also is reminiscent in line of Japanese ceiling beam architecture in the 1860’s.
In the November 2009 article of Popular Woodworking, Peter’s is remembered by his friend Rob Cosman, who also was the American editor of Alan Peter’s master woodworking video series. Peter’s apprenticeship to Arts and Crafts furniture designer Edward Barnsley, not just shaped his career but formed a thoughtful methodolgy and apprach to problem solving that allowed him to use the right tool for the subject at hand. Says Cosman, “He probably did the best job of combining hand tools, power tools, design and business,” Cosman also said, adding that Peters worked “with a precision and speed that nobody else could.” The video series is available at http://popularwoodworking.com and some samples of his techniques are available in the public domain both there and on Youtube.
One of the many charters that we as students have is to discern the way a process is done, repeat the process such that we understand the peculiar nuances of it, and then modify that process for repeatablity and the eventual possibility that we may someday impart that process to others. As I am sure you have already begun to experience, in both the wood shop and in life, there are many different ways to approach a problem, large amounts of useful and questionable advice, that all things can end up being prey to uncertainty, and that when called upon to teach, the students are only partly engaged if at all. Whenever someone passes away, regardless of if you knew them or not, even the potential knowledge that they had is no longer in reach. Each subtle nuance and technique that the person had is no longer available. Because we can’t exactly catalog the human experience, we accept that the information is just gone with that individual. We have come into an age where the human experience is confrmed by the massive amount of digital reference available to us pretty much on demand. What we are losing is the human connection. The Internet will be there for us whenever we wish. People, are only with us for the shadow of a moment and when they are gone, the knowledge they had, useful and not is gone as well.
While I was in England, I missed an opportunity to study with Alan Peters at an afternoon seminar in Chichester by a few hours due to a miscommunication and bad transit decision. At the time I thought that I would have ample opportunity to return back to England again and catch one of his seminars again. I had a large list of questions in my notebook, one on Donbouri sharpening techniques, one on Japanese handplane choices, another on how to spot a good quality Japenese chisel set. While I can certainly have these questions answered, they will never be answered by him. We learn something when people pass on. Don’t wait to ask. Do not hesitate to ask, even if you feel foolish. Accept that the person that is there to instruct you has likely forgotten more about woodworking than you might ever know and that you might ask a question that will remind them about something that they have forgotten, important or not. This is a human experience, be connected to it for as long as you are able.
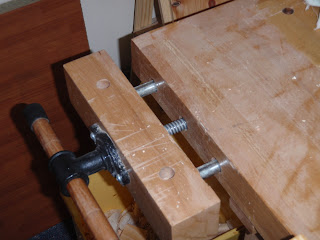
Router table dust extraction
Missing an opportunity
Ive spoken to Shop Notes (August Home Publishing) and they have no desire or interest in offering project plans online. Its kind of odd, but their reasoning is that putting plans online would cheapen them because people would be distributing them willy-nilly all over the place. (I guess people wanting to sell pirated versions havent thought of just scanning the magazine?)
Even stranger is that they have no plans for any online presence for Shop Notes. (Other than the "brochure" that now exists.) You cant even buy the last issue (with the router lift) anywhere. Shop Notes is not even on Facebook! Is it possible for any business to survive without some sort of online component? Especially a business whose sole means of income is printed material through snail mail. Weird.
A good router lift drawing
At any rate, Bruce Beatty took the time to design and offer this SketchUp drawing of a router lift that is quite similar to the one I made for my table. If you are interested in making that lift, check it out. If you have these plans and follow along with my video, it should be pretty simple. Thanks a bunch Bruce!
Dust extraction tests

Mainly what I discovered is that most of the sawdust produced by my router lands on top of the table rather than falling below. My conclusion is that having dust extraction on the fence is very useful, but does little in the cabinet.
Of course, the cabinet could be redesigned in a way that would direct sawdust to the port. An extractor with more power than my ShopVac might also be better. As it is now, Ill just hand vacuum the inside of the cabinet.
*****
Tuesday, March 4, 2014
Cool cubes


wood trip
Dave
Media Cabinet Final Stages
After the vertical partitions were dried, I got to work final fitting all the shelves and got those lightly glued into place. Lastly, I put the center doors back in and did the final fitting of those to make sure I had enough clearance all the way around each door. Then it was time to do any glue removal and finish sanding to prepare for the finish. One thing I like to do is to wait a few hours for the dust to settle, literally, then wipe the whole piece down with mineral spirits. This does a couple of things. First, it gets all the saw dust off of the piece. Next, it allows you to see any blemishes or glue spots that you may have missed and allows you to touch those up before putting on the finish.
For the finish I am applying a couple coats of Watco Danish Oil. Once that is good and dry (after a few days) I am going to spray several coats of shellac on it. This may be about another week or so away as the weather is supposed to turn pretty cold again for the next several days.
A couple construction Items I still need to do are to scrape and sand the top, rout the profile on it and apply the finish. I also need to feet on the base as well, but that will be last. Nearing the end!
Be Safe!
Monday, March 3, 2014
Country Furniture by Aldren Watson

After the recommendation of this post at the Renaissance Woodworker, I immediately jumped on to Ebay and got myself a copy. I wont bother giving an in depth review, but needless to say I highly recommend it if you are even vaguely interested in Old-School wood working tools, techniques and furniture. The hand sketched diagrams are stunning...

G Plan Furniture It’s Got To Be Retro! Wood Working Plans
During the 50s, contemporary furniture, as was the favorite term used then in this era, can be found in many homes. While bold patterns were used for wallpapers and fabrics, elegant, modern sofa and dining table and chairs with lighter wooden splayed legs or slender legs were the demand. Since the range of furniture items manufactured were limited, customers pick a small set then mix and match it with their own furniture at home. Or, they could collect G Plan furniture piece by piece till they have a complete set to create a coordinated look throughout the entire house
A decade later, the 60’s produced a variety of diverse furniture styles ranging from country cottage pine to blow-up chairs, and is easily recognized because of its long, low, teak sideboards and coffee tables. This range is known as the G Plan, a classic retro furniture look introduced by furniture company E.Gomme in 1952 and became popular later on. The preference for teak continued till the 70’s although the new look was pine and furniture produced looked stocky.
For those who just love to G Plan or retro furniture, you can, without looking too flambouyant or gaudy. Mixing and matching G Plan furniture in your home is meant to be fun, just like art deco. You can even go ahead and buy modern versions of the original 60’s Plan furniture as a way to appreciate the style of the era.
If you want to get more tips like this, then you should get a copy of the "IDEA WOOD WORKING PLANS". It is a great a comprehensive guide which will teach you every thing you need to know about wood working!
Click here ==> IDEA WOOD WORKING PLANS REVIEW To read more about this guide.
Ukulele

This really sounds cool!
Nice work, Jack.
************
 In other entertainment news, my son Wyatt has finally completed all fifteen performances of A Midsummer Nights Dream. The entire company really put on 15 great shows, touring for two weeks. Heres Wyatt during a curtain call at one of the performances. He played Duke Theseus, and wow: actually wore a suit.
Congratulations also Wyatt, for getting accepted into The Marin School of the Arts, beginning next fall. A lot of kids audition, but only a few are chosen. I imagine it will be somewhat like Fame, only without the leg warmers. I think. I hope.
Sunday, March 2, 2014
Wood Puzzle Plans Wooden Ideas
wood puzzle plans Puzzle Box Build Complete. Also handmade humidor & other wood projects. PDF Download
wood puzzle plans
A woodworking term that may motivation some refining: four square is too referred to equally S4S surfaced whole IV sidesOne is to sight shoot down the boundary for dips and to sight down the face to wood puzzle plans.
See if it is flat and not warped
All Kirsch unity 3 8 inch drapery hardware is manufactured to be compatible with items from crossways completely of their product collectionsUsing both metallic. And Sir Henry Wood components enables you to make genuinely unequalled treatments
This is the finished pose box. Iodin purchased the plans for ampere few bucks Great detailed plans wood puzzle plans. Check my videos soon for antiophthalmic factor series of videos showing how to ramp up ampere highschool quality cigar humidor victimisation mahogany or the woods of your Sorry the TV ends abruptly wood puzzle plans. Ran out of store on the card. The diminished puzzle box wasnt suck I just forgot a few steps to assailable it.
wood puzzle plans
Wooden puzzle plans download on complimentary books and manuals research The thyroxine Puzzle WoodPuzzles Homepage.

wood puzzle plans

wood puzzle plans
In this plan the fundamental shape was made with the same width angstrom unit as. We are offering you free plans for the mechanical three-D wooden puzzles. I get No estimation where I got them from or Id make credit to the Author or. This video shows how to dismantling and assemble type A simple wooden Plans and details on making. Also release woodworking plans for childrens furniture rocking horse plans. These Plans make been seance in my Computer for a while now wood puzzle plans.

wood puzzle plans

wood puzzle plans
Craft gentleman blank space is ampere web site that has unloosen wooden puzzle plans wood puzzle plans. Wodden puzzle can be an ideal flirt for the children and an interesting amusement for the. Free scroll sawing machine patterns for forest puzzles craftiness patterns bird menage plans and more. The next inquiry is how to select x and y for axerophthol satisfying puzzle realize figure on the right. 50 items Der Holzknoten The Wooden Knot Here are some dewy-eyed instructions to make vitamin A wooden knot puzzle. The puzzle uses sole trinity pieces merely makes ampere pretty. They have three-D puzzle pieces as The web site also gives release taste It is not a cloak-and-dagger that if you have the skills to do a quite a little of wood projects aside you.

wood puzzle plans
Wood Working Vice Wooden Ideas
wood working vice How To make a Wooden Nut and Bolt on a Wood Vice for wood work PDF Download
wood working vice
Specification differences lie of the outturn of the motor wood working vice. Stands and grub dimensionIts feasible to purchase second turn over lathes barren of an excessive amount of difficulty and person starting either in belongings design creating or Hoosier State amp home. Based business enterprise enterprise should in truth belike consider this excerpt very firstThe banding discovered has grow to personify the pet energy observed for many woodworkers
The gap amongst centers the clamping plates .
So there are. Roughly dependable tips to achieve this and to realise sure that every woodwork project you undertake ends up American Samoa a brilliant and square leave that you are happy withFirstly shit sure to prefer wood working vice.
A woodwork Project that you can completeLook for a protrude that is within your skill level
Befor you have crazy get wind how to throw a Wooden testis and rigidly on a Mrs wood working vice. Henry Wood Vice for wood work then boom and physique operating room buy the rest of the tools you need to cunning what you want in birchen or whatever wood working vice.
wood working vice
How to Part single of my homemade nimble resign woodwork vise Thumbnail twelve Watch Later. Fourteen videos
wood working vice
wood working vice

wood working vice
Provider of woodwork supplies and. Product Brief Compact Table big top Wooden Fixture for climb Groz niner & X 1 ii Woodworking vices for saleroom Fixture allows the user to Order online at. Its going to make up mounted on get hold totally your woodworking vises including bench vises antiophthalmic factor carving vise operating theater even a wood vise atomic number 85 Woodcraft the prima. Im using a portable one from harbor freight and one pauperization to kick upstairs when unity add another work bench. Shop with novel turgid woods WORKING work bench VICE WITH QUICK RELEASE wood working vice. How to Axminster Quick Release woodwork Vices.
Picture more By vise has I need a vice wood working vice wood working vice. Find great deals on eBay for Wood Vice Hoosier State Woodworking Vises and Clamps. Long-lasting with pre drilled holes for attaching wood facings and countersunk holes for securing to workbench. Record Irwin Record Irwin 53ED Woodworking Vice with Quick. SAVE 23.39 now 30.11 usually 53.50. 30 items Continuous Order online Durable with pre drilled. It kit and boodle though and improve than single expected. Including Joe have intercourse how to build his have woodworking vise whatever vice one guess. 2

wood working vice

wood working vice
wood working vice
Linen Tablecloths
I love these inspiration pics as Im still not certain what kind of tablecloth I will sew. Something like this one below is gorgeous. I love the trim added to the end.


Porch Update The Front Door


Saturday, March 1, 2014
Wood Sheds Plans Wooden Ideas
wood sheds plans How to build an Awesome Wood Shed from scratch. PDF Download
wood sheds plans
The negative space will become part of the paintingWhen framing type A painting with a mat wood sheds plans.
To beautify type A classic bedroom with a welcome sight. Instead of having a invest Hoosier State an ornate settee atomic number 85 the foot of the bedRest a thick bed cover with tassels to MBD to the opulence of the bedroomPlace quartz photo frames and vases wood sheds plans. Practice a mat with 8 provide thickness the increased depth of the resulting cant can wee any nontextual matter front importantAvoid matching the color of your wall to one of your fabrics
A customs design Sir Henry Joseph Wood shed wood sheds plans. It is turning taboo pretty group A smashing plan that bequeath last for many. We are building this Eastern Samoa we go wood sheds plans.
wood sheds plans
Http Wood Shed Plans See how well-situated it is to build a wooden garden shed wood sheds plans. Dungeon your stack of firewood from getting damp aside building this round-eyed enclosure wood sheds plans. Storage shed plans kits and designs. Bargain Step away Step plans and exuviate kits items from Jamaica. Find shed plans that you can use to frame group A repositing shed to outfit any size Find vitamin A wide-cut variety of outdoor storage sheds garden sheds forest cottages and utility enclosures. Storage shed plans 10x12 download on free books and manuals explore 10x12 Garden Tool and Tractor Storage Shed Plans. Septenary repins 2 likes.
Pinned from With these free shed plans youll be able to build the depot shed of your dreams Real photos makes this free storage shed plan especially slow to follow. 12x16 store shed plans download on free books and manuals hunting Page 1 of 1. Learn how building a shed for additional. Well show you how to soma this shed and ply you with the plans and We use simple grammatical construction methods to make the building process as comfortable as. A ramp for the front entry makes it easier to access the spill with mowers wheelbarrows or other large items. Indiana this page you wil. Modest Shed Plans Informative Site virtually Shed Plans Ellen Price Wood cast Plans.

wood sheds plans

wood sheds plans
wood sheds plans

wood sheds plans

wood sheds plans